As soon as the first crisp breeze of autumn hits and the leaves begin to turn golden-brown, there is a collective rush to the pumpkin patch. We drag wagons through muddy fields, searching for that perfect orange gourd to decorate our porches. Pumpkins have become synonymous with Fall, Halloween, and perhaps most importantly, Thanksgiving.
But while carving a real pumpkin is a beloved tradition, it can be messy, difficult for toddlers, and let’s be honest—it rots after a week. That is why we love bringing the pumpkin festivities indoors with paper crafts!
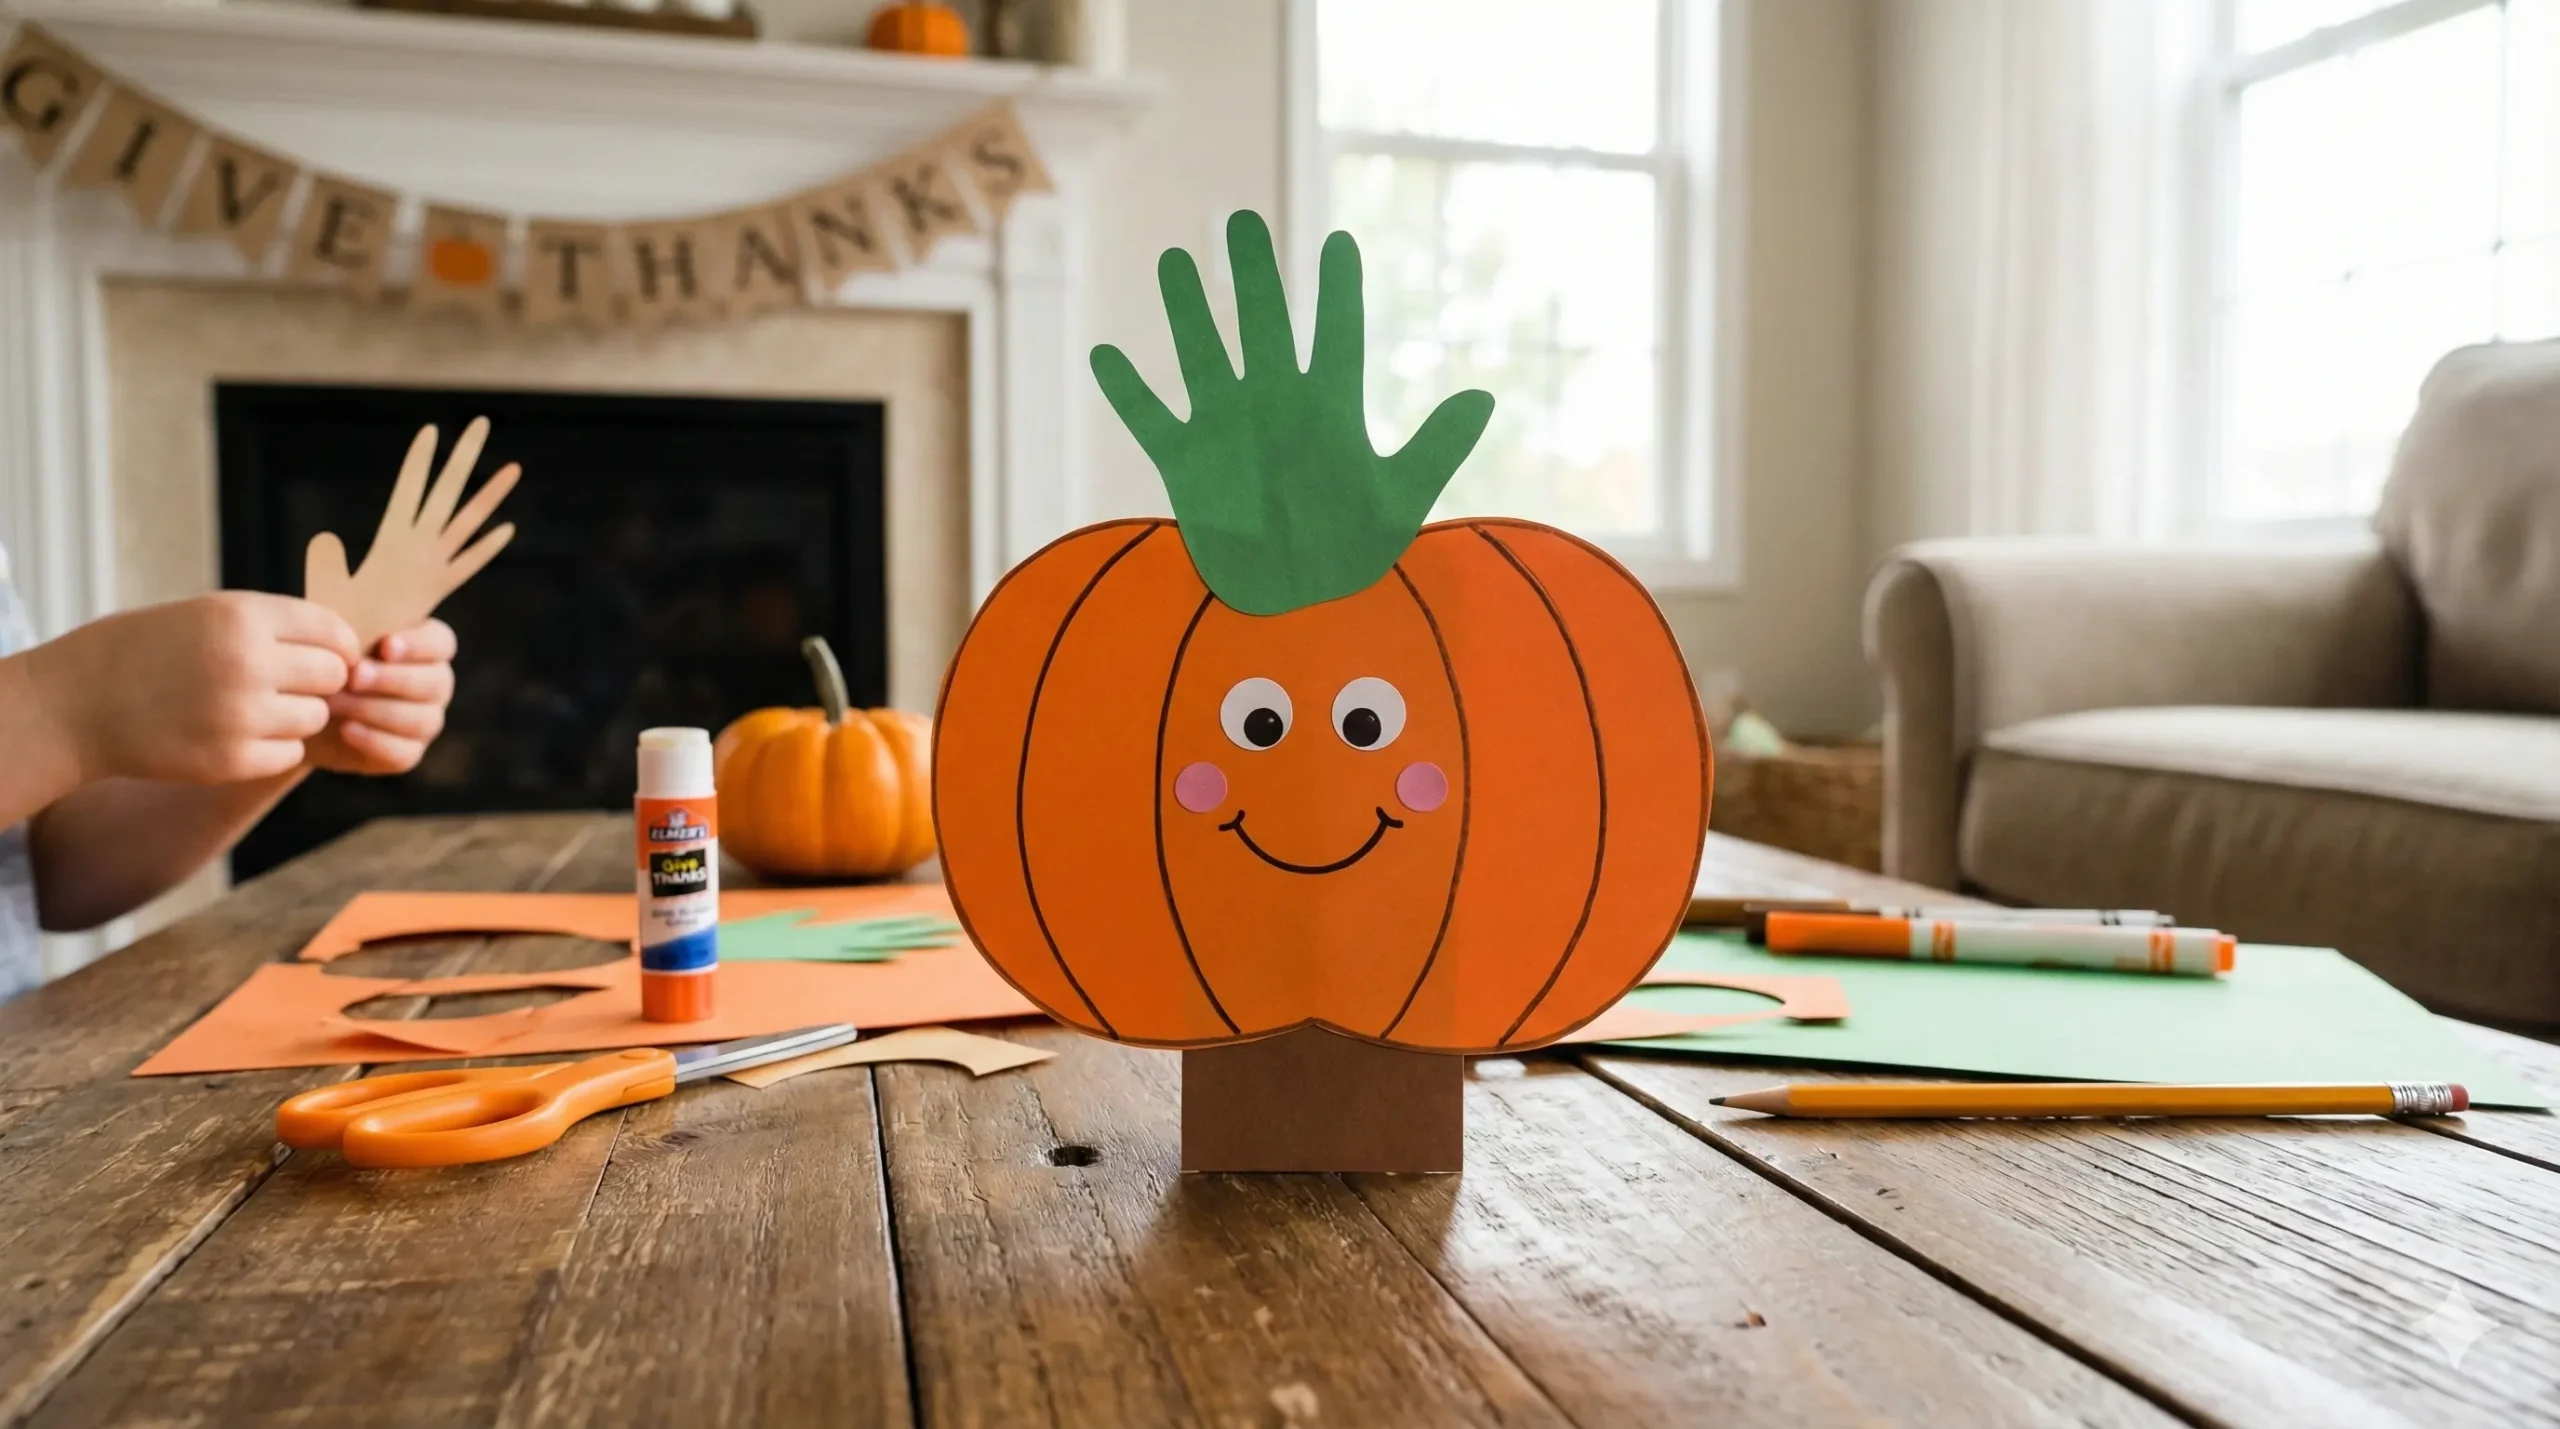
Today, we are sharing a Super Easy Handprint Pumpkin Craft that is perfect for young children. Whether you are a preschool teacher looking for a classroom activity or a parent wanting to keep your little ones busy while the turkey cooks, this craft is a winner. It requires minimal supplies, makes zero mess, and best of all, it doubles as a sentimental keepsake of how tiny your child’s hands once were.
Why Are Pumpkins the Star of Thanksgiving?
Before we dive into the glue and scissors, it is always fun to turn craft time into a mini history lesson. Have you ever wondered why pumpkins are such a huge deal during Thanksgiving? It isn’t just because they look pretty on a doorstep!
Pumpkins have deep roots in American history. Long before the Pilgrims arrived, pumpkins were a staple in Native American culture. They were versatile and durable vegetables, often roasted, stewed, or dried for winter. When the settlers arrived, Native Americans taught them how to cultivate and cook these squash, which helped them survive the harsh winters.
However, the pumpkin’s journey to stardom didn’t stop there. In the early 19th century, while other squashes were sold in city markets as common food, the pumpkin remained a symbol of farm life and rural tradition. By the mid-19th century, the pumpkin became ingrained in the agricultural identity of the North.
Interestingly, it even became a symbol during the anti-slavery movement preceding the Civil War. When President Abraham Lincoln officially declared Thanksgiving a national holiday in 1863—right in the middle of the Civil War—the pumpkin was elevated to the spotlight. It became a symbol of harvest, survival, and unity, cementing its place on the Thanksgiving table (and in our crafts!) forever.
Why Handprint Crafts Are the Best
If you scroll through Pinterest, you will see thousands of craft ideas. So, why choose a handprint craft?
- They Are Personalized: Anyone can cut out a paper shape, but only your child can provide their unique handprint. It adds a personal touch that turns a simple piece of paper into a treasure.
- They Are Keepsakes: Parents love crafts that freeze a moment in time. Years from now, you will look back at this paper pumpkin and marvel at how small those fingers were.
- Fine Motor Skills: This craft involves tracing (coordination) and cutting (scissor skills), which are essential developmental milestones for preschoolers and kindergarteners.
Supplies You Will Need
One of the best things about this project is that you don’t need to run to the craft store. You likely have everything you need in your kitchen drawer or craft bin.
- Colored Craft Paper: You will need Orange (for the pumpkin body), Brown (for the stem), Green (for the handprint leaf/vine), Pink (for cheeks), and White (for eyes).
- A Pencil: For tracing the hand and the template parts.
- A Pair of Scissors: Safety scissors work best for little hands.
- Craft Glue: A glue stick is less messy, but white liquid glue works too.
- Sharpies or Markers: You need black for details and a dark orange for shading.
Step-by-Step Instructions: How to Make the Handprint Pumpkin
Ready to get started? Clear off the kitchen table and follow these simple steps.
Step 1: Prepare Your Shapes
If you are confident in your drawing skills, you can freehand a pumpkin shape on the orange paper. You want a nice, wide oval with ridges at the bottom.
However, if you want a perfect shape, you can easily sketch a “gourd” shape that looks like three ovals connected together.
- The Pumpkin: Draw this on your orange paper.
- The Stem: Draw a thick, rectangular or slightly curved stump on brown paper.
- The Vine: Cut a thin, long strip of green paper.
Step 2: Trace the Handprint
This is the most important step! We are going to use the child’s handprint to represent the leaves or the vine sitting on top of the pumpkin.
- Take your sheet of green craft paper.
- Have your child place their hand flat on the paper with their fingers spread out wide.
- Using your pencil, carefully trace around their fingers. Pro Tip: If your child is ticklish or wiggly, hold their wrist gently with one hand while you trace with the other!
- Once traced, you can clean up the lines with the pencil if needed.
Step 3: Cut Out All Elements
Now it is time to practice those scissor skills.
- Cut out the orange pumpkin base.
- Cut out the brown stem.
- Cut out the green handprint.
- Cut out two small white circles for eyes and two small pink circles for cheeks (if you are making a happy pumpkin face).
Safety Note: If you are working with very young toddlers, you might want to do the cutting for them and let them handle the gluing.
Step 4: Add Depth and Details
Before we glue everything together, let’s make the pumpkin look realistic.
- Take a dark orange Sharpie or marker.
- Draw curved lines down the front of the pumpkin body. These lines mimic the “ribs” of a real pumpkin, giving it a 3D effect.
- You can also outline the edge of the pumpkin to make it pop.
Step 5: Assemble Your Pumpkin
Now, let’s build it!
- Attach the Stem: Glue the brown stem behind the top center of the orange pumpkin so it peeks out the top.
- Attach the Handprint: Glue the green handprint on top of the pumpkin, right where the stem meets the orange paper. Position it so the fingers fan out like leaves covering the top of the gourd.
- Add the Vine: Take your thin green strip of paper. Wrap it tightly around a pencil to curl it (like a ribbon). Glue one end near the stem so you have a springy, curly vine bouncing off the top.
Step 6: Bring It to Life (The Face)
This step is optional, but it makes the craft much cuter for kids.
- Glue the two white circles near the top center for eyes. Use a black marker to draw pupils.
- Glue the pink circles below the eyes for rosy cheeks.
- Use a black marker to draw a simple smile and a cute triangular nose.
3 Creative Variations to Try
Once you have mastered the basic craft, why not mix it up? Here are three ways to make this project even more unique.
1. The “Thankful” Pumpkin Turn this craft into a gratitude exercise. On each finger of the green handprint leaf, ask your child to write (or dictate to you) something they are thankful for this year. Examples: “Mom,” “Dad,” “Toys,” “Pizza,” or “My Dog.” It turns the craft into a meaningful Thanksgiving centerpiece.
2. The Texture Pumpkin Instead of using plain orange paper, let your child tear up small pieces of orange tissue paper or construction paper. Glue these torn pieces onto a paper plate or a cardboard cutout to create a “mosaic” pumpkin. Then, add the handprint leaf on top. This is great for sensory play!
3. The Glitter Gourd If you are brave enough to handle the mess, outline the handprint in green glitter glue, or cover the pumpkin body in orange sparkles. This makes for a flashy decoration that looks great hanging on the fridge.
Educational Benefits of This Activity
As a parent or educator, you are always looking for activities that are “fun with a purpose.” Here is what your child is learning while they make this pumpkin:
- Bilateral Coordination: Holding the paper with one hand while cutting or coloring with the other requires both sides of the brain to communicate.
- Color Recognition: Identifying orange, green, and brown helps reinforce color vocabulary for toddlers.
- Following Instructions: completing steps in a specific order (trace, cut, glue) builds executive function skills.
Conclusion
This Handprint Pumpkin Craft is more than just paper and glue; it is a celebration of the season and a snapshot of your child’s growth. It captures the essence of Thanksgiving—gratitude, family, and tradition—in a simple, low-stress activity that anyone can do.
So, this November, when the weather turns cold and you are looking for a way to entertain the kids indoors, grab some orange paper and make a pumpkin patch of handprints!