t is amazing how something so tiny can hold so much meaning. When we think of garden bugs, few are as universally loved as the ladybug. With their bright red shells and distinct black spots, they are a favorite among children and gardeners alike.
But did you know that this little beetle is also a powerful symbol in cultures around the world?
In Japanese folklore, the ladybug is known as “Tentou-mushi.” This roughly translates to “Sun Bug” or “Heaven Bug.” There is a beautiful legend that says the ladybug’s spots represent the sorrows of the world that it carries on its back so that we may live in peace. Despite this heavy burden, the ladybug flies cheerfully toward the sun.
In many other cultures, from Europe to the Americas, spotting a ladybug is considered a sign of good luck, prosperity, and upcoming happiness. It is said that if a ladybug lands on you, your wishes will soon come true!
Today, we are going to channel that good luck and positivity by creating our very own Origami Ladybug Craft. This project is perfect for beginners and introduces children to the ancient Japanese art of paper folding.
Why Choose Origami for Kids?
Before we start folding, it is worth noting why Origami is such a fantastic activity for a child’s development. It isn’t just about making pretty shapes; it is a brain-boosting exercise!
- Math in Motion: Origami is geometry in action. Kids learn about squares, triangles, angles, symmetry, and fractions (half, quarter) without even realizing they are doing math.
- Fine Motor Skills: The act of aligning corners and creasing paper firmly strengthens the small muscles in the hands and fingers. This is essential for handwriting and other delicate tasks.
- Patience and Sequencing: Origami requires following a specific set of steps in a specific order. It teaches children that skipping a step matters and that patience pays off with a beautiful result.
- Mindfulness: Much like coloring, paper folding is a quiet, meditative activity that can help calm an energetic child and improve their focus.
Supplies You Will Need
One of the best things about this craft is that it requires very few materials. You likely have everything you need in your home already.
- Colored Craft Paper or Origami Paper: Red and orange are traditional, but ladybugs also exist in nature in yellow and even pink! Let your kids choose their favorite colors.
- Black Marker (Sharpie): For drawing the spots and the line down the back.
- Googly Eyes: These add a fun, animated personality to the bug. If you don’t have them, you can draw the eyes with a marker or cut them out of white paper.
- Scissors: To trim your paper into a square (if starting with rectangular paper).
- Glue Stick: Optional, but helpful for keeping flaps down so the bug lays flat.
Step-by-Step Instructions: How to Make an Origami Ladybug
This tutorial uses a basic “helmet fold” base, which is one of the easiest origami forms, making it perfect for children ages 5 and up.
Phase 1: Creating the Base
Step 1: Prepare Your Square Start with a perfect square of paper. If you are using standard A4 or Letter printer paper, fold one corner down to the opposite edge to form a triangle, and cut off the excess rectangular strip at the bottom.
- Tip: If you are using origami paper that is colored on one side and white on the other, start with the white side facing up. This ensures your ladybug ends up colored!
Step 2: The First Diagonal Fold Place your square on the table like a diamond (with a point facing you). Fold the top corner down to meet the bottom corner. Crease it well. You should now have a large triangle with the point facing down.
Step 3: Finding the Center We need to find the exact center of the triangle. Fold the left corner over to meet the right corner, but do not crease the whole thing. Just pinch the bottom slightly to make a mark, or crease it lightly, then unfold. You are now back to the triangle from Step 2, but you have a visible center line.
Phase 2: Shaping the Wings
Step 4: Folding the Wings Down Take the right top corner of the triangle. Fold it downwards, but not straight down. You want to fold it at a slight angle so that the tip crosses the center line slightly or meets the bottom point.
- Correction for the “Ladybug Look”: To get that distinct gap between the wings, leave a small space between the center line and your fold.
Step 5: Repeat on the Left Do the same with the left corner. Fold it down to match the right side. Your paper should now look like a diamond shape with a slit in the middle. These two flaps are your ladybug’s wings!
Phase 3: Forming the Body and Head
Step 6: The Head Tuck Flip the entire paper over so you are looking at the back. You will see a top point and a bottom point. Take the top corner (the one pointing up) and fold it down towards the center. This creates a flat edge at the top, which will be the ladybug’s head.
Step 7: Rounding the Bottom Ladybugs aren’t pointy! To make your bug look rounder, take the very bottom sharp corner and fold it up slightly. Next, take the sharp side corners (left and right) and fold them inward just a little bit. This “softens” the shape, making it look more like an oval beetle and less like a sharp diamond.
Step 8: Flip and Reveal Flip your paper back over to the front. You should now see a recognizable ladybug shape! You have a flat head at the top and two wings separated by a line in the middle.
The Fun Part: Decoration
Now that the folding is done, it is time to bring your Tentou-mushi to life.
- The Spots: Using your black marker, draw big, bold polka dots on the wings. In nature, the number of spots can tell you the species of the ladybug (the Seven-Spotted Ladybug is the most common in Europe). Let the kids draw as many or as few as they like.
- The Face: Glue two googly eyes onto the flat head area at the top. If you don’t have googly eyes, draw two big white circles and add black pupils.
- The Antennae: You can draw two little antennae coming out of the head, or cut two thin strips of black paper and glue them to the back of the head so they stick up.
Educational Bonus: 5 Fun Facts About Ladybugs
While the kids are decorating, here are some fun facts to share to turn craft time into a mini science lesson:
- They are Farmer Friends: Ladybugs are carnivores! They eat aphids, which are tiny pests that destroy plants. Because of this, farmers and gardeners love having ladybugs around.
- They Hibernate: In the winter, ladybugs gather in groups (sometimes thousands of them!) and hide under tree bark or leaves to stay warm until spring.
- Not All Are Red: While red with black spots is the classic look, ladybugs can be yellow, orange, brown, pink, or even black with red spots!
- Self-Defense: If a ladybug feels threatened, it can play dead. It also releases a smelly yellow liquid from its knees that tastes bad to predators.
- They Have Hidden Wings: The colorful spotted shell is actually a hard protective case called elytra. The real transparent flying wings are folded neatly underneath!
Creative Ways to Use Your Origami Ladybugs
Don’t let these cute critters just sit in a drawer. Here are some creative ways to display them:
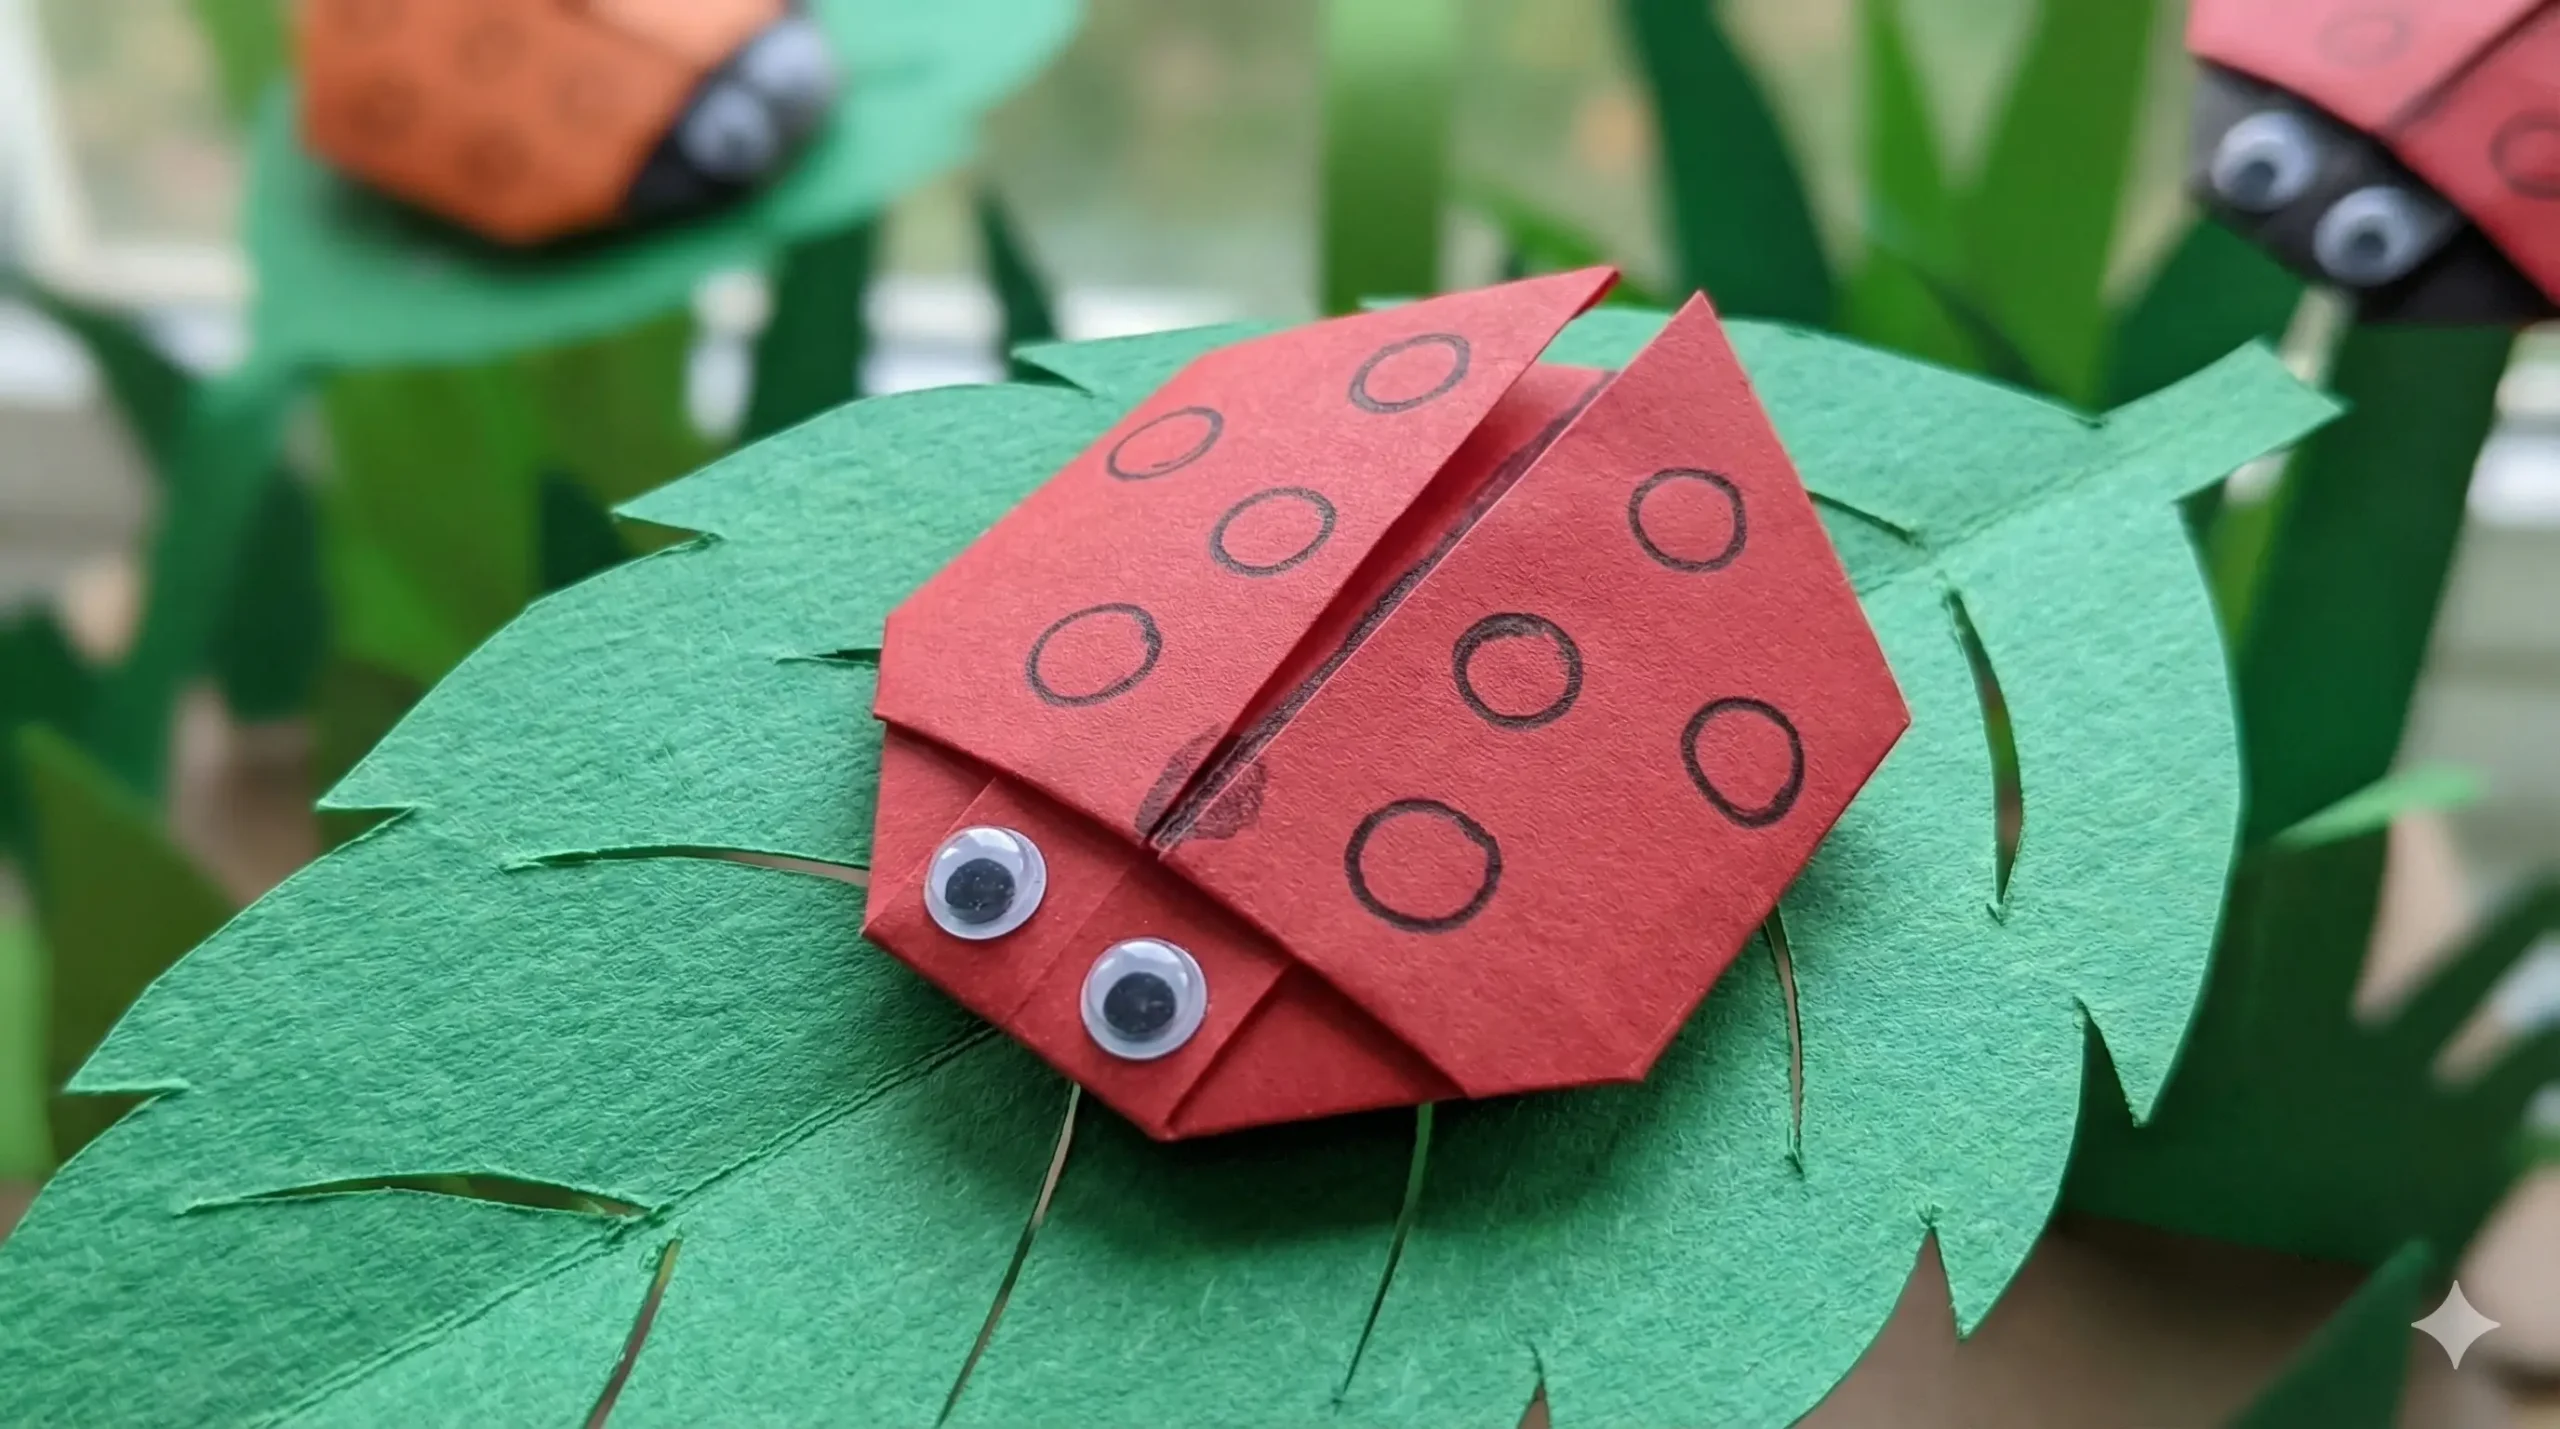
- Garden Scene: Have the kids cut out large green leaves from construction paper. Glue the ladybugs onto the leaves to create a 3D wall display.
- Greeting Cards: Glue a flat origami ladybug onto the front of a blank card. Write “Good Luck!” or “You’re Spot On!” for a cute DIY birthday card.
- Mobiles: Punch a small hole in the top of the ladybug, tie a string, and hang several of them from a hanger to make a fluttering mobile.
- Bookmarks: Because these are flat, they make adorable bookmarks. Just slip the page between the body and the wing flaps (if you didn’t glue them down).
Final Thoughts
This Origami Ladybug Craft is more than just a way to pass the time. It is a bridge to cultural storytelling, a tool for developing fine motor skills, and a celebration of nature’s most charming beetle.
Whether you make just one lucky bug or a whole swarm of colorful friends, the process of turning a flat square of paper into a living creature is a magical experience for children. So, grab your red paper and your black markers, and let’s make some luck today!